 Hyundai Accent: Rear Bumper. Repair procedures
Hyundai Accent RB (2010-2018) Service Manual / Body (Interior and Exterior) / Bumper / Rear Bumper. Repair procedures
Replacement
[Sedan]
|
| 1. |
Remove the trunk trim.
(Refer to the BD group - "Trunk Trim")
|
| 2. |
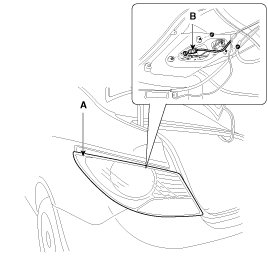
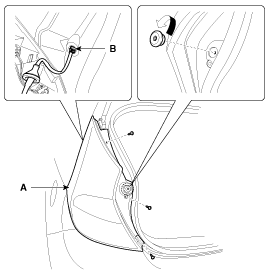
Disconnect the connector (B) and then loosening the combination
lamp mounting nuts.
|
| 3. |
Remove the rear combination lamp (A).
|
| 4. |
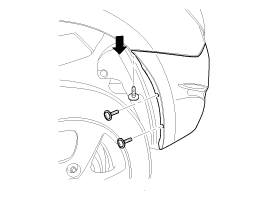
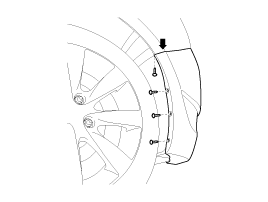
After loosening the rear bumper side’s mounting screws, then disconnect
the side’s.
|
| 5. |
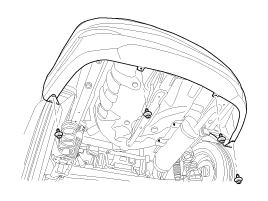
Remove the rear bumper mounting clips.
|
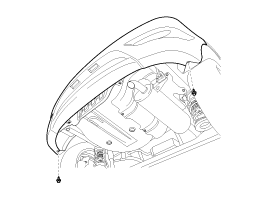
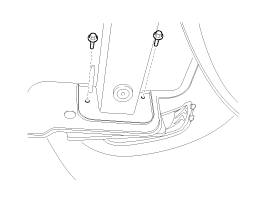
| 6. |
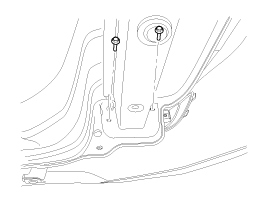
Loosen the mounting bolts.
|
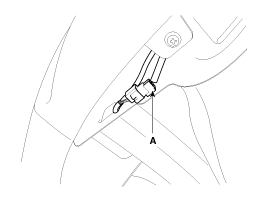
| 7. |
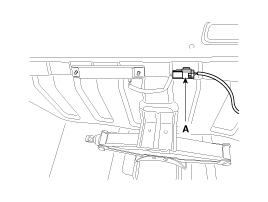
Push the lock pin, disconnect the rear bumper main connector (A).
|
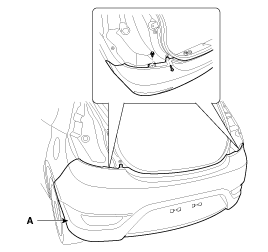
| 8. |
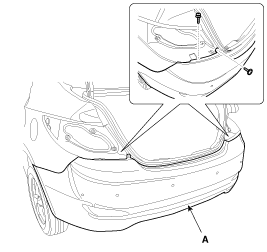
After loosening the mounting screw and clip, then remove the rear
bumper (A).
|
| 9. |
Installation is the reverse of removal.
|
[5 Door]
|
| 1. |
After loosening the mounting screws, then remove the rear combination
lamp (A).
|
| 2. |
Push the lock pin, disconnect the connector (B).
|
| 3. |
After loosening the rear bumper side’s mounting screws, then disconnect
the side’s.
|
| 4. |
Loosen the mounting clips.
|
| 5. |
Loosen the mounting bolts.
|
| 6. |
After loosening the mounting screw and clip, then remove the rear
bumper (A).
|
| 7. |
Push the lock pin, disconnect the rear bumper main connector (A).
|
| 8. |
Installation is the reverse of removal.
|
 Rear Bumper. Components and Components
Location
Components
[Sedan]
1. Rear bumper cover
2. Rear bumper side bracket [RH]
3. Rear bumper side bracket [LH]
[5 Door]
1. ...
See also:
Replacement
1.
Remove the front wheel & tire.
Tightening torque :
88.3 ~ 107.9N.m(9.0 ~ 11.0kgf.m, 65.1 ~ 79.6lb-ft)
...
Description and Operation
Description
Emissions Control System consists of three major systems.
•
The Crankcase Emission Control System prevents blow-by
gas from releasing into the atmosphere. T ...
General Information
General Troubleshooting Information
Before Troubleshooting
1.
Check applicable fuses in the appropriate fuse/relay box.
2.
Check the batte ...
Hyundai Accent Manuals
© 2011-2026 Copyright www.hamanual.com

