 Hyundai Accent: Front Seat. Repair procedures
Hyundai Accent RB (2010-2018) Service Manual / Body (Interior and Exterior) / Seat & Power Seat / Front Seat. Repair procedures
Replaccement
Seat Assembly Replacement
| 1. |
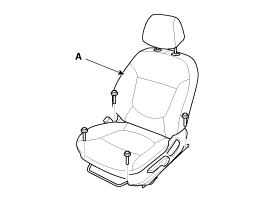
After loosening the seat assembly mounting bolts, remove the seat
assembly (A).
|
| 2. |
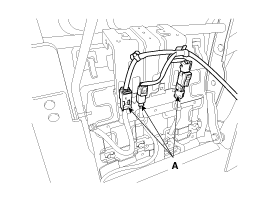
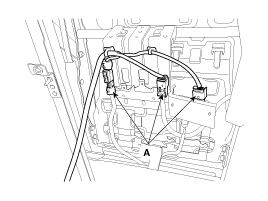
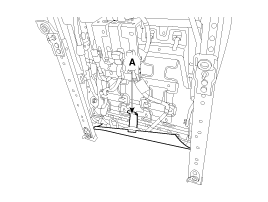
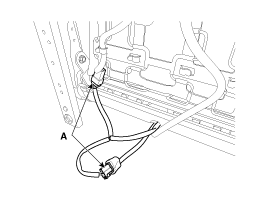
Disconnect the connectors (A).
[Driver's]
[Passenger's]
|
| 3. |
Installation is the reverse of removal.
|
Front Outer Shield Cover Replacement
|
| 1. |
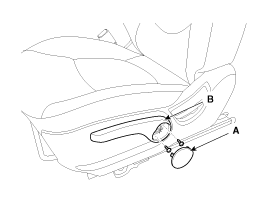
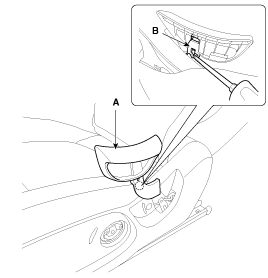
Remove the height cap (A).
|
| 2. |
After loosening the mounting screws, then remove the height knob
(B).
|
| 3. |
To remove the recliner handle (A), and then remove the recliner
handle after pushing the lock pin (B).
|
| 4. |
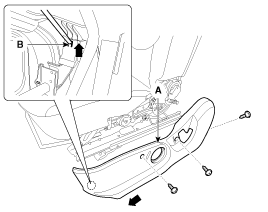
Pull the lock pin (B).
|
| 5. |
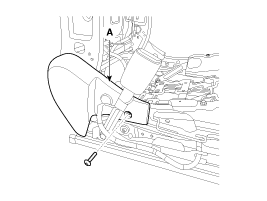
After loosening the mounting screws, then remove the front outer
shield cover (A).
|
| 6. |
Installation is the reverse of removal.
|
Seat Back Cover Replacement
|
| 1. |
Remove front seat assembly.
|
| 2. |
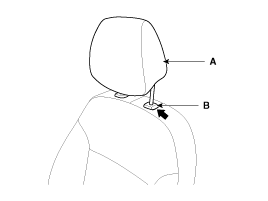
Push the lock pin (B), remove the headrest (A).
|
| 3. |
Remove the protector (A).
|
| 4. |
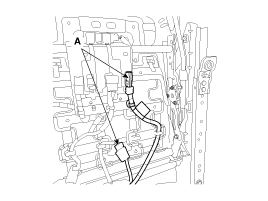
Disconnect the connectors (A).
|
| 5. |
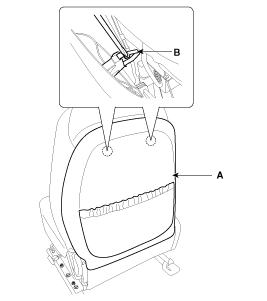
Push the clips (B) from the seat back cover (A).
|
| 6. |
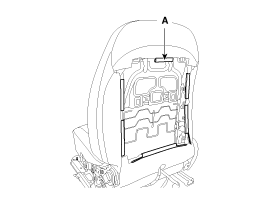
Push the protecter (A) by the seat back frame.
|
| 7. |
Remove the protector (A).
|
| 8. |
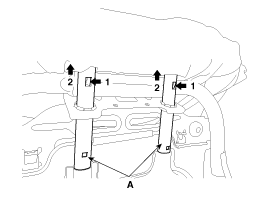
Pull out the headrest guides (A) while pinching the end of the
guides, and remove them.
|
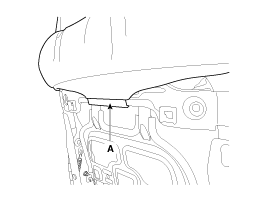
| 9. |
Remove the protector (A).
|
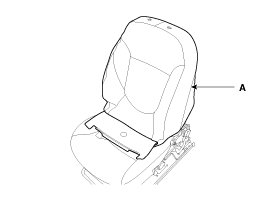
| 10. |
Remove the seat back cover (A) from the frame.
|
| 11. |
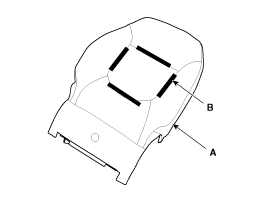
After removing the velcro tape (B) on the front of seat back and
remove the seat back cover (A).
|
| 12. |
Installation is the reverse of removal.
|
Seat Cushion Cover Replacement
|
| 1. |
Remove front seat assembly.
|
| 2. |
Remove the front outer shield cover.
|
| 3. |
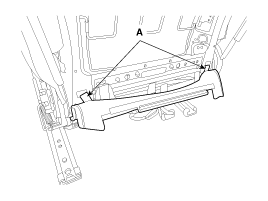
Remove the protector (A).
|
| 4. |
Disconnect the connectors (A).
|
| 5. |
After loosening the mounting screw, then remove the front inner
side cover (A).
|
| 6. |
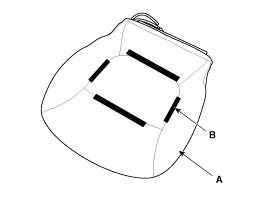
Push the protecter(A), and then seat cushion cover (C) from the
frame(B).
|
| 7. |
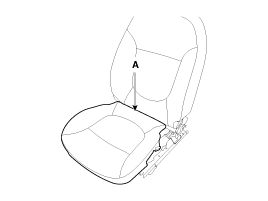
Remove the seat cushion cover (A) from the frame.
|
| 8. |
After removing the velcro tape (B) on the front of seat cushion
and remove the seat cushion cover (A).
|
| 9. |
Installation is the reverse of removal.
|
Seat Frame Replacement
|
| 1. |
Remove the following items.
|
| 2. |
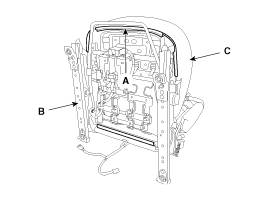
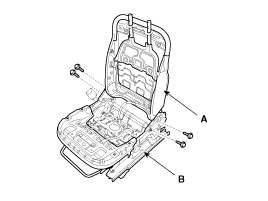
After loosening the mounting bolts, then disconnect the seat back
frame (A) and seat cushion frame (B).
|
| 3. |
Installation is the reverse of removal.
|
 Front Seat. Components and
Components Location
Components
1. Headrest
2. Headrest guide
3. Front seat back cover
4. Armrest
5. Front seat back warmer
6. Front seat back frame
7. Front back cover
8. Fron ...
 Rear Seat. Components and
Components Location
Components
1. Headrest [RH]
2. Rear seat back cover [RH]
3. Rear seat back frame assembly [RH]
4. Rear back cover [RH]
5. Headrest [Center]
6. Headrest [LH]
7 ...
See also:
Front seat
Manual adjustment
Forward and rearward
To move the seat forward or rearward:
1. Pull the seat slide adjustment lever up and hold it.
2. Slide the seat to the position you desire.
3. Release the ...
Closing the tailgate
To close the tailgate, lower and push down the tailgate firmly. Make sure that
the tailgate is securely latched.
WARNING
Make sure your hands, feet and other parts of your body are safely out
o ...
Service Standard
Item
Specification
Ignition Timing (°)
BTDC 3 ± 10
Idle Speed (rpm)
A/C OFF
Neutral, N, P-range
...
Hyundai Accent Manuals
© 2011-2026 Copyright www.hamanual.com

