
 Hyundai Accent: Installation
|

| 1. |
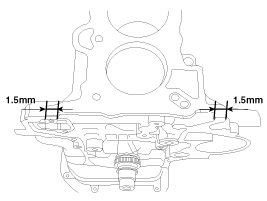
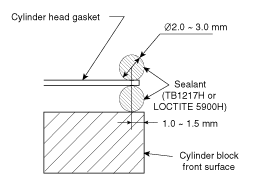
Install the cylinder head assembly.
|
| 2. |
Place the cylinder head carefully not to damage the
gasket.
|
| 3. |
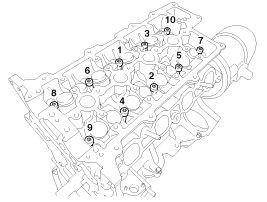
Install the cylinder head bolts with washers.
|

| 4. |
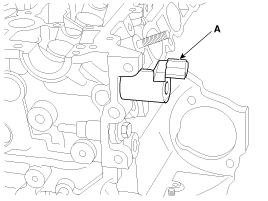
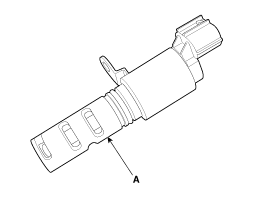
Install the oil control valve (OCV) (A).
|
| 5. |
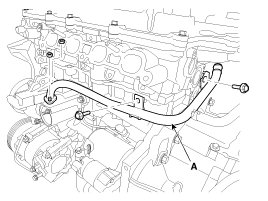
Install the heater pipe (A).
|
| 6. |
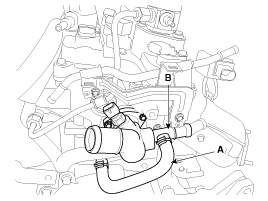
Install the water temperature control assembly (B)
and connect the bypass hose (A).
|
| 7. |
Install the injector & rail assembly (A).
|

| 8. |
Install the intake and exhaust manifold.
(Refer to Intake and Exhaust system in this group)
|
| 9. |
Install the camshafts.
|
| 10. |
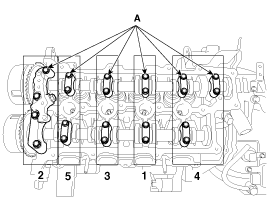
Install the camshaft bearing caps with the order
below.
|
| 11. |
Install the timing chain.
(Refer to Timing system in this group)
|
| 12. |
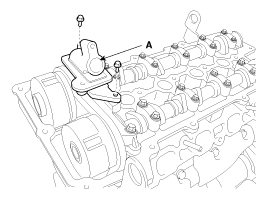
Install the OCV (Oil Control Valve) adapter (A).
|
| 13. |
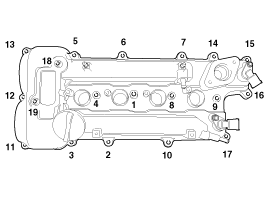
Install the cylinder head cover (A) with a new gasket
(B).
|

| 14. |
Tighten the cylinder head cover bolts (A) with the
order and steps.
|
| 15. |
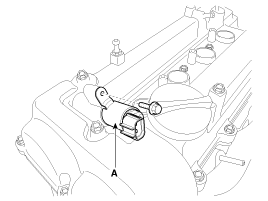
Install the exhaust OCV (Oil control valve) (A).
|
| 16. |
Install the ignition coils (A).
|

| 17. |
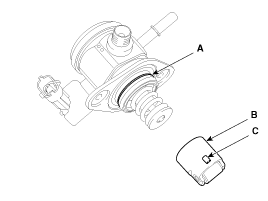
Install the high pressure fuel pump (A) and the roller
tappet (B). (Refer to FL group)
|

| 18. |
Install the high pressure pipe (A). (Refer to FL
group)
|
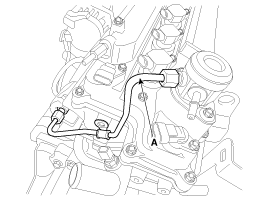
| 19. |
Install the vacuum pipe assembly (A).
|

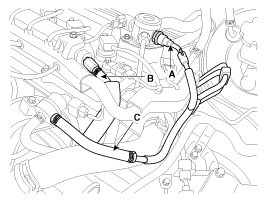
| 20. |
Connect the fuel hose (A), the PCV (Positive crankcase
ventilation) hose (B) and the PCSV (Purge control solenoid valve) hose
(C).
|
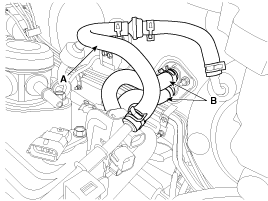
| 21. |
Connect the brake booster vacuum hose (A) and heater
hoses (B).
|
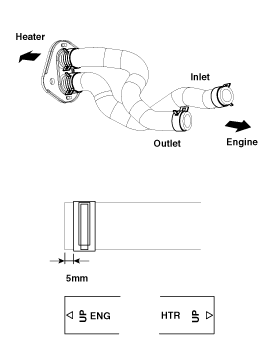
| 22. |
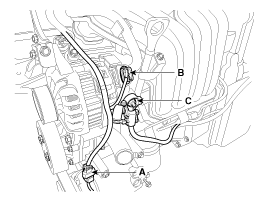
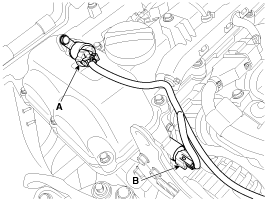
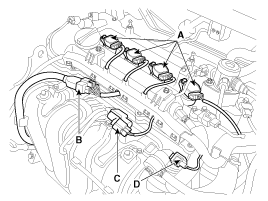
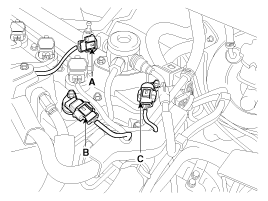
Connect the wiring connectors and harness clamps,
and remove the wiring and protectors from the cylinder head and intake
manifold.
|
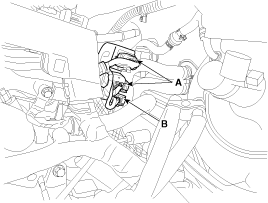
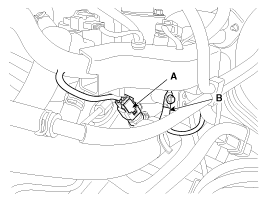

| 23. |
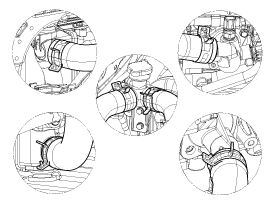
Connect the radiator upper hose (A) and lower hose
(B).
|
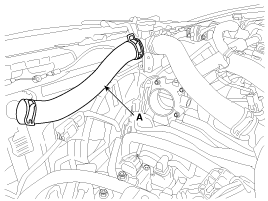
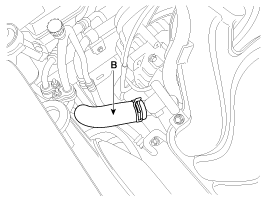
| 24. |
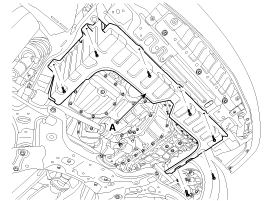
Install the under covers (A).
|
| 25. |
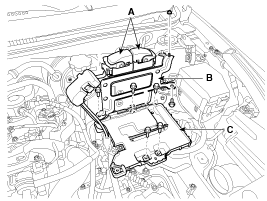
Install the battery tray (C), the ECM (B) and then
connect the ECM connectors (A)
|
| 26. |
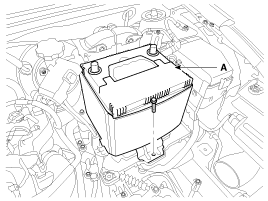
Install the battery (A) and the mounting bracket.
|
| 27. |
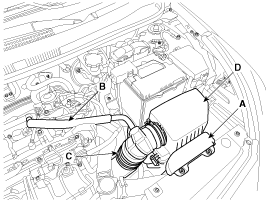
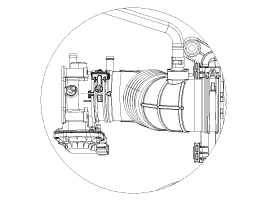
Install the air cleaner assembly.
|
| 28. |
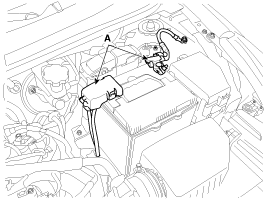
Connect the battery negative terminal (A).
|
| 29. |
Install the engine cover.
|
Install the engine cover.
|
Perform the following :
|
 Reassembly
•
Thoroughly clean all parts to be assembled.
•
...
 Cylinder Block
...
See also:
Accelerator Position Sensor
(APS). Schematic Diagrams
Circuit Diagram
(M/T)
(A/T)
...
Components Location
Supplemental Restraint System Control
Module (SRSCM)
Driver Airbag (DAB) / Passenger Airbag
(PAB)
Side Airbag (SAB)
Curtain Airbag (CA ...
Schematic Diagrams
Schematic Diagram
...
Hyundai Accent Manuals

© 2011-2026 Copyright www.hamanual.com